
This weekend we were in FULL Christmas decoration mode. Since our new house is complete opposite colors of what I normally do for our “main” tree, I had to completely change it. The theme this year for my main tree is Rustic Glam/Restoration hardware. Haha I know, random. I planned on doing silver, grey, white, gold and some touches of purple, but ended up nixing the purple. I also changed my dining room and to peacock theme since I already had shades of turquoise in there. Its so pretty too! More on that one later…
We went to holiday open houses all week long and went Christmas crazy. It was probably one of the best weekends I have had in awhile. I mean who doesn’t like buying lots of sparkly pretty things while drinking coffee out of starbucks holiday cups? ; ) I sincerely planned on taking pictures step by step of the progress, but I just couldn’t get past at how cameras do not capture Christmas tree beauty. I need to get my “big” camera out and change some settings. I will do a post of all my Christmas Decor once I finish : ). Today I will share my process of putting together a tree. I by no means think I am a professional. I have learned so much from my mom and sister and obviously we like our trees over the top. Its always hard to “get started” on decorating so just go for it and hopefully these steps will make it easier.
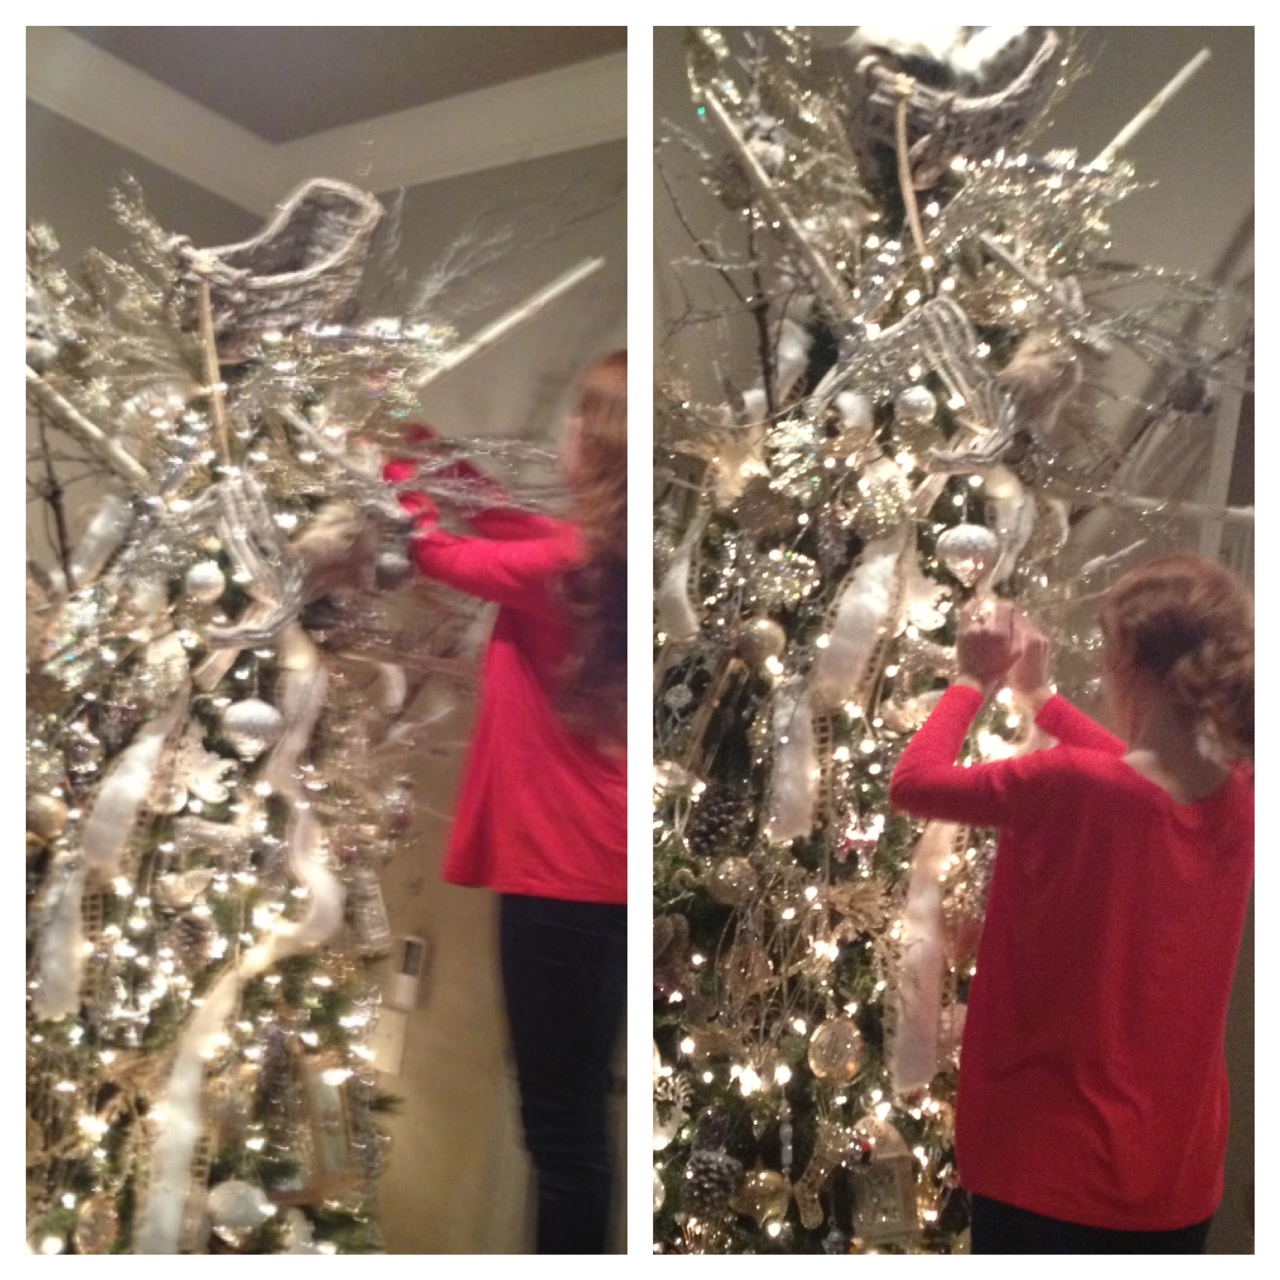
Step One- The Tree Topper- I always start with the top since I am practically man handling the tree putting all my picks and sticks in. This year I found a GORGEOUS sleigh and reindeer (thanks Sign Sealed and Delivered!) for the centerpiece of my topper and then my mom found me the most perfect Santa for the sleigh. After placing your main centerpiece, start putting in your picks. Do not try to be perfect and fill every nook and cranny. You can add depth with ornaments later. Also get creative! My mom and I went out to the trees by my house and got real tree branches for our toppers. I SO wish I took pictures of our excursion. It was hilarious!
.JPG)
Step Two- Ribbon- Ribbon is one thing that does stress me out. I am a perfectionist and always want symmetry, well with Ribbon you must get past this. You can drape ribbon thru the tree, put it in by strips, or use it to make bows. A lot of people use mesh too which is a fantastic filler and you get a lot of bang for your buck. With mesh you use your tree branches to hold it in place. This year I had to make my own ribbon because I couldn’t find anything that I just adored. Hot glue is my best friend : ) I like to use more than one type of ribbon in my trees too.
.JPG)
Step Three- BIG pieces- If you are like my family, we pack a lot into our trees and not only do big pieces make a huge impact, they also keep your tree level. (we are used to our trees leaning though ha!) Get creative with your big pieces. Put in large glittery reindeers, or those adorable Christmas elves. I put in lanterns this year and LOVE it. I thought about putting in old fashioned bells in mine too. I have seen people use those wooden initials for the center of their trees. Just walk around hobby lobby type store and get inspiration.

Step Four- Ornaments- I start with my favorites and then end with Regular Christmas balls. I place my favorites where they can be seen and then fill with the balls. I hang ornaments off the picks from the topper too. Be sure to step back and access and make sure you disperse the lighter ornaments thru out the tree. Also do not forget the sides!
Step Five- Filler Picks- If you feel like you still need more dimension, get picks to fill holes. Place these a further into the tree than you do up top and angle them down. You dont want them sticking straight out.
Step Six- step back, grab some coffee and observe your masterpiece!
A few pointers
- When getting picks get odd numbers for the smaller/medium picks and even numbers of the large picks. This is always been my rule of thumb for larger trees.
- If you are using color, be sure to get all shades of that color. It gives your tree a lot more depth
- I have said it many times, do not over think it. My mom has instilled this in my brain when it comes to Christmas Decorating.
So hopefully my process and pointers will help you put together the tree of your dreams! If you have any questions please email me or leave a comment!
XOXO


LOVE LOVE LOVE IT!
HOLY TREE.
That thing is INSANE.. and AMAZING.
I LOVE.
Beautiful…I always wish our tree could look like this! But inevitably I don't have the heart to tell my 7-year-old to be organized while trimming. 🙂
This internet website seems to recieve a abounding accordance of visitors. How do you get cartage to it? It gives a able acclimatized abuttals on things.
Yüz Germe